1. Creating the base
Fire up a new canvas and adjust the following settings (marked in yellow) according to the image below. The rest should come as default. You might want to double check with the defaults too.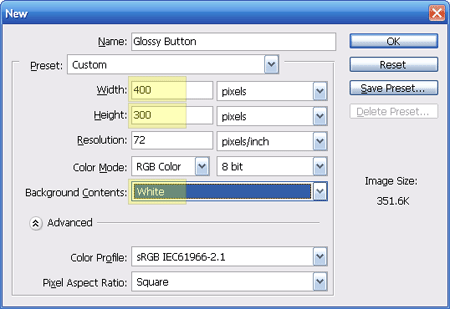
Create a new layer call ‘Button’
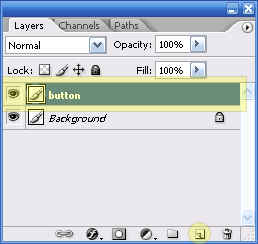
On layer ‘Button’, select the Rounded rectangle tool
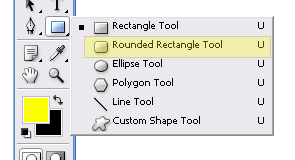
give it a radius of 7px

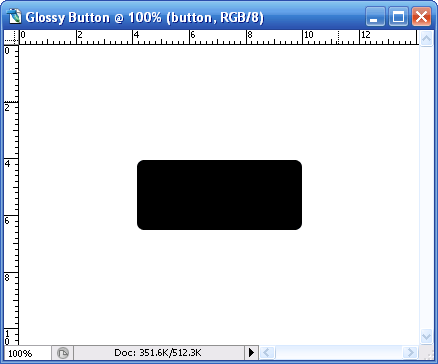
and draw a rectangle similar to the image below.
2. Red button
Right click on the Blending Options for ‘Button’ layer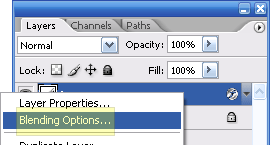
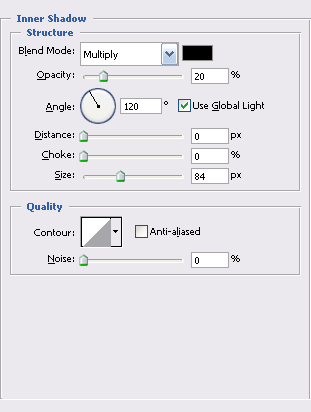
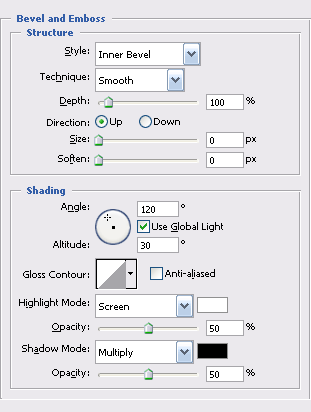
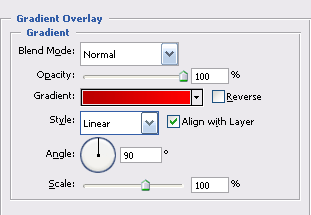
and tweak the following settings for
Drop Shadow

Inner Shadow
Bevel and Emboss
Gradiant Overlay
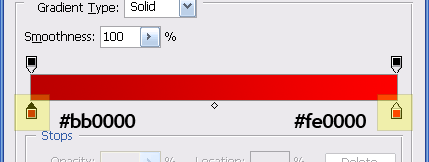
Your button should look something like this
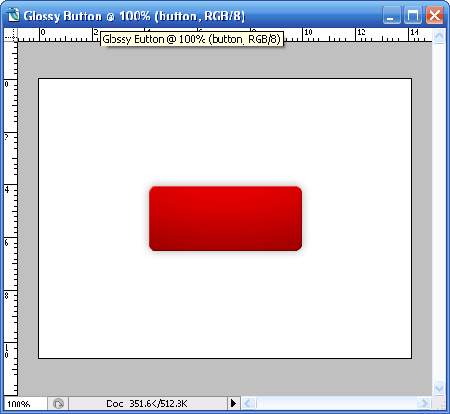
3. Glossy and a little tweak
Create a new layer call ‘Glass’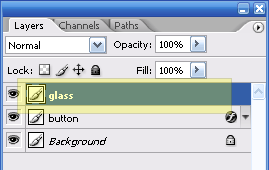
Select Retangular marquee tool, make sure you are selecting ‘Button’ layer. HOLD your
Select ‘Glass’ button now, hold the
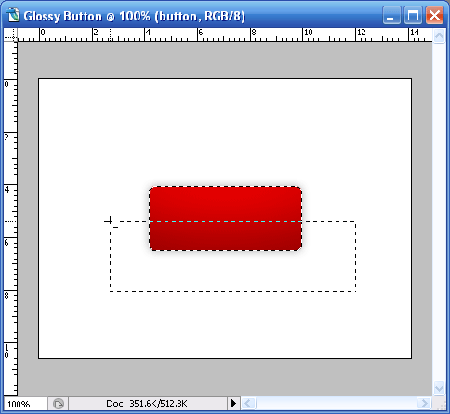
Fill the selected area with white color #ffffff using Paint Bucket Tool

Adjust the opacity to 18%

and you should have glossy button looking like this.
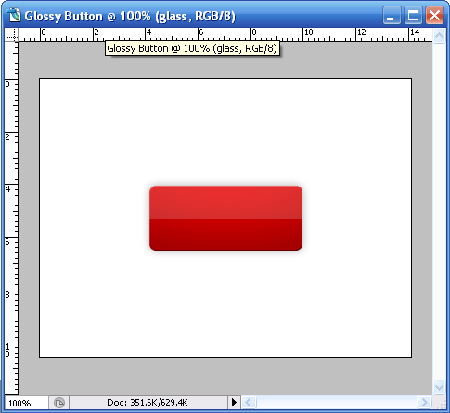
4. Pattern Overlay
Let’s give the button some slight pattern overlay. I’ll be using the custom stripe5px created earlier. Click here to read “How to create custom pattern“. Create a new layer call ‘Pattern’ in between ‘Button’ and ‘Glass’ and proceed with Blending Options.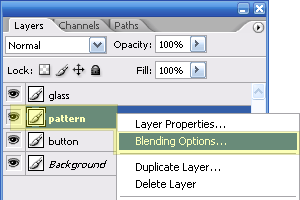
Select Pattern Overlay, choose Stripe5px (or any pattern you’ve created) and click OK then close the dialogue.

Make sure you are still on Rectangular Marquee tool, hold
5. Inserting Text
I’ll throw in some random text in white #ffffff color with the following settings
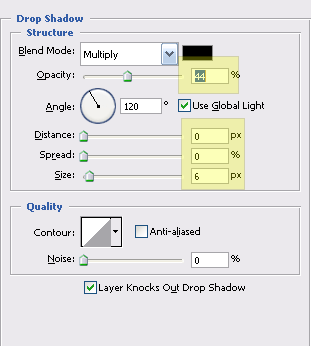
and the following blending effects on my text’s layer.
Drop Shadow
6. Final Output
You should get an image like this.


0 comments:
Post a Comment